
Parts we use
The lights, power and hardware that turn a 3D print into a finished lamp or sign. These are the ones we buy for our own builds, with the measurements that matter so you get one that fits.
Add all to Amazon cart
Amazon shows the items first; click Add to cart there. Change quantities before you check out.
Already have it, or buying it somewhere else? Tick I have it and it stays out of the Amazon cart. Ticks you made in Glow Shop come across; filament starts ticked, since most people buy it by the roll. Untick anything to add it.
Parts marked Find on Amazon come in many sizes; pick the one that matches your design's measurements.
Everything else we use
Build guides
Which parts go with which design, start to finish.
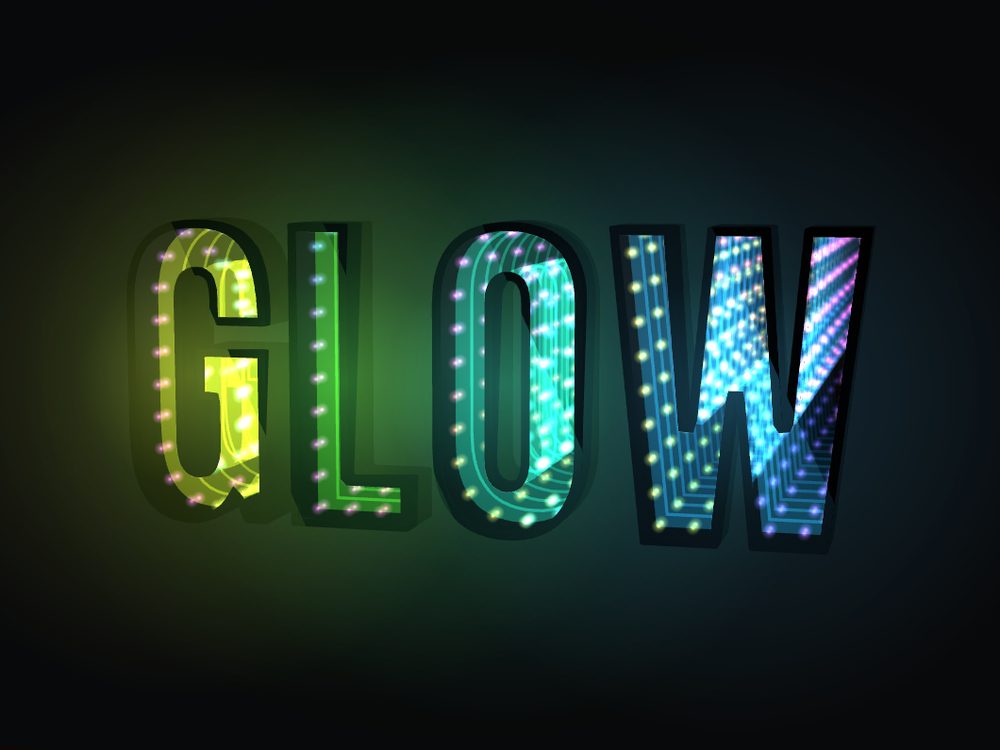
Infinity lit letters
- Design your word in Lit Letters with the Mirror face, and print the letter boxes.
- Run the 5 V USB COB strip in the groove round the inside of each wall.
- Cut the back mirrors from mirror acrylic and the fronts from two-way mirror (the download has the cut files), and drop them in.
- Join the wires behind the letter and power it all from one USB dimmer cable.
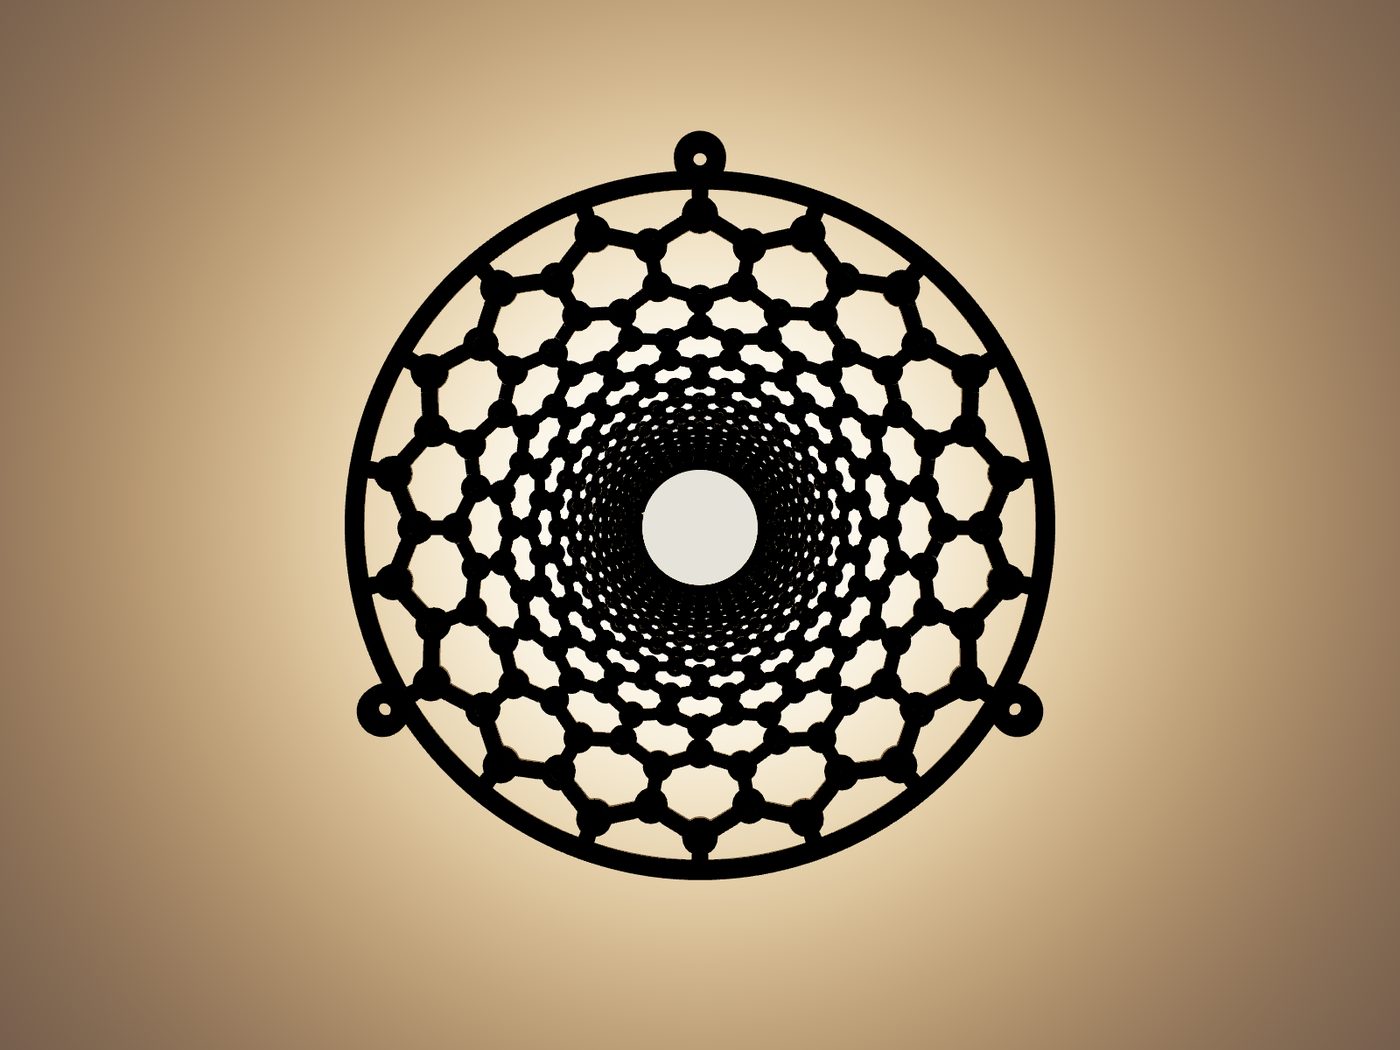
Tunnel wall light
- Print the tunnel flat, face up, in matte black PETG.
- Stick a 3 in (76 mm) remote puck light to the wall with Command strips.
- Hang the tunnel over it on #6 screws and wall anchors; the printed spacers hold it off the wall.
- Use the remote to dim it, change color or set the timer.
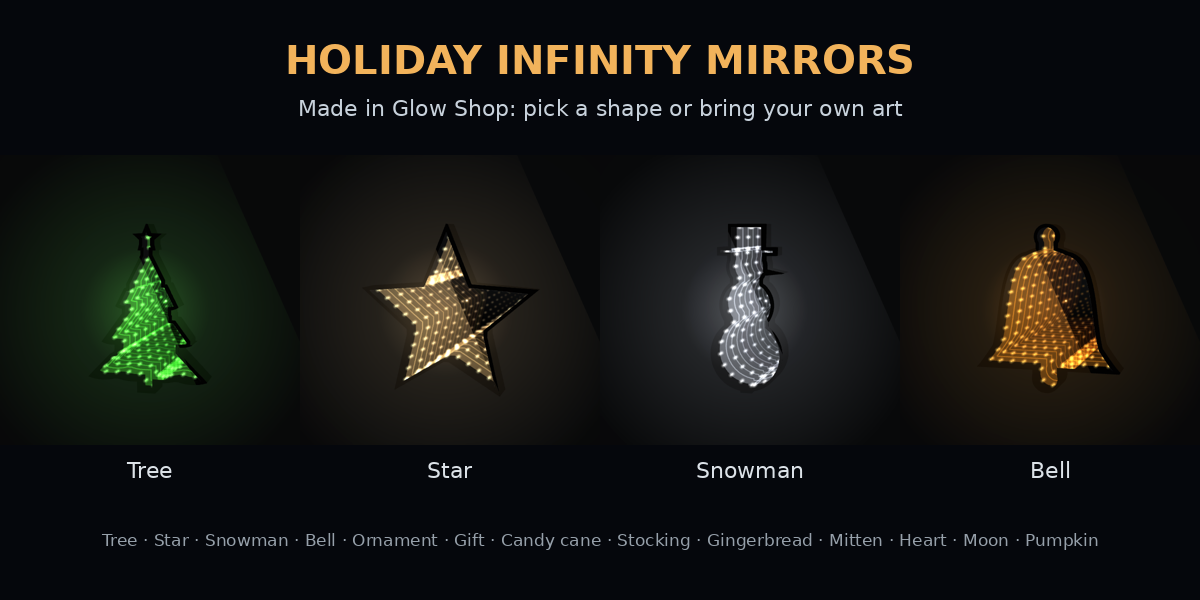
Holiday infinity mirror
- Pick a holiday shape (or your own picture) in Infinity Mirrors and print the box.
- Cut the back from mirror acrylic and the front from two-way mirror.
- Run a USB LED strip round the inside; RGB with a remote lets you match the holiday.
- A USB power bank or wall plug with the dimmer cable runs it anywhere.
As an Amazon Associate, Glow Shop earns from qualifying purchases. Prices and availability are set by Amazon and can change; check them on Amazon before you buy.